
From order to
deployed station.
Confirm your radio model first.
Because each unit is built around one radio model, we recommend confirming your exact make and model number with us before you order. Send us the model and we will confirm the speaker microphone and charging cable configuration for it — that way the unit works the moment it is mounted.
Choose Your Radio Model
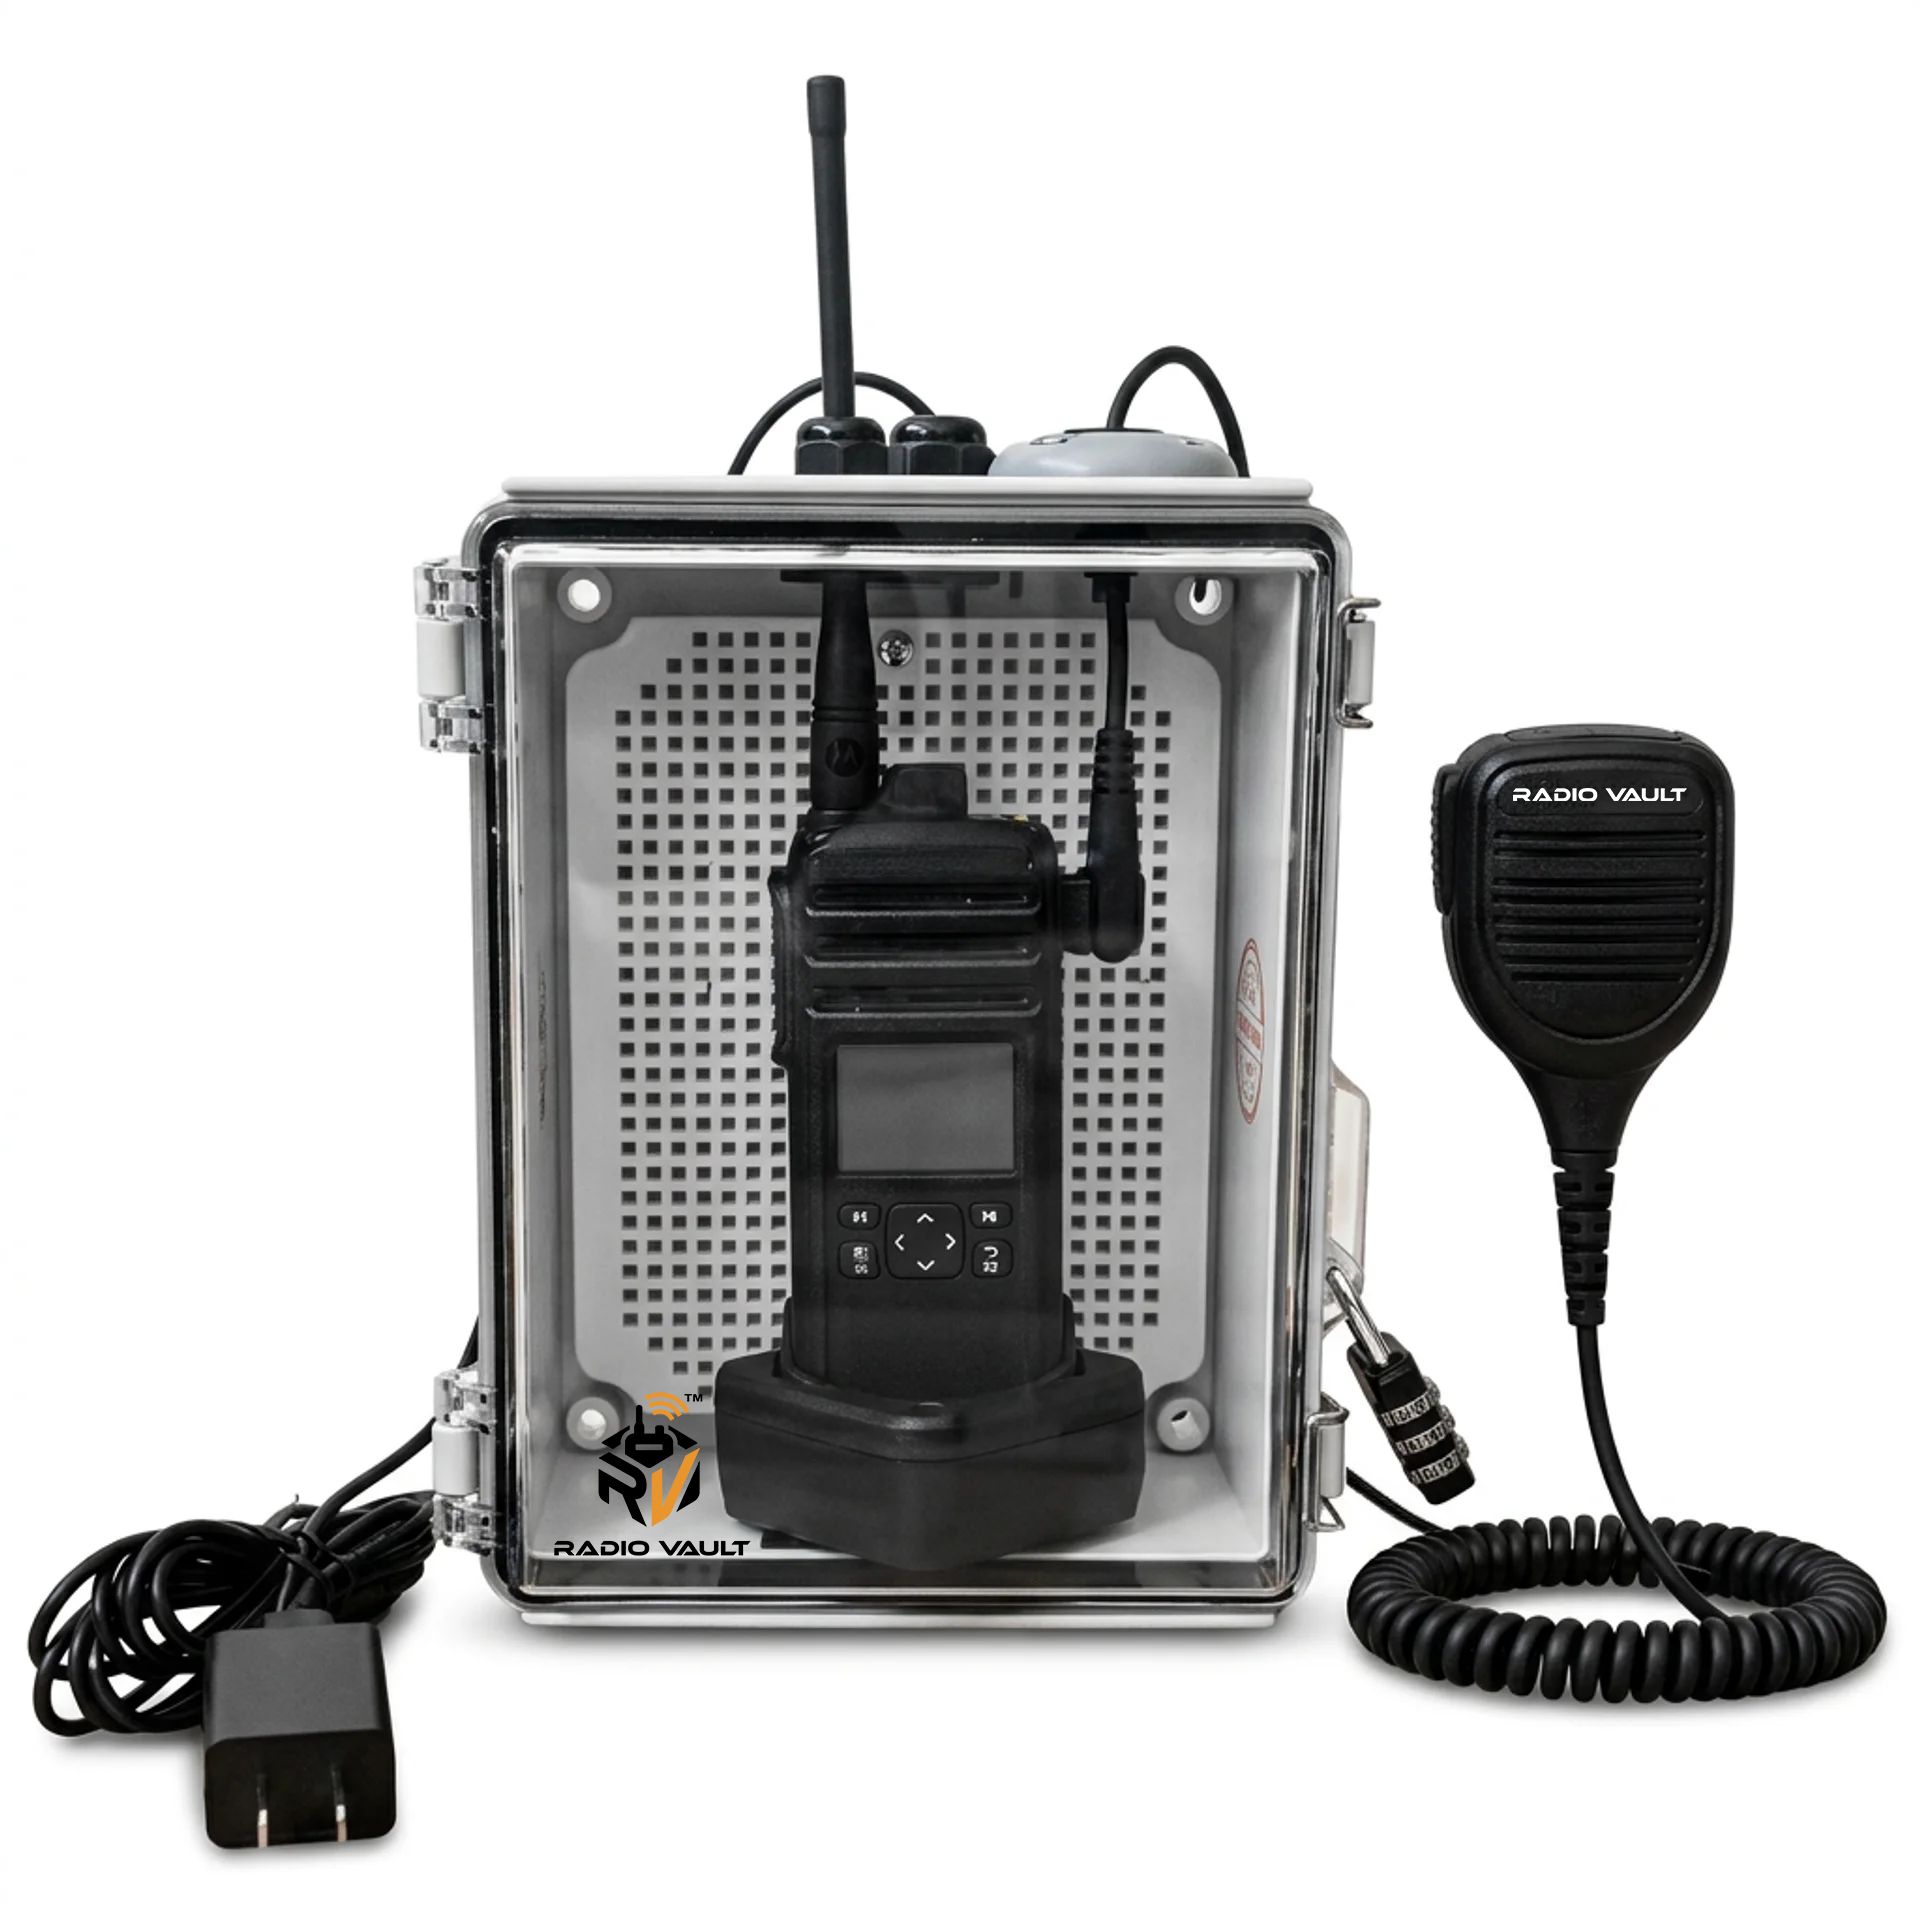
Start by identifying the two-way radio model your team already uses. Enter the model at checkout so the unit you receive is configured for that exact radio — not a generic fit.
We Configure the Speaker Mic & Charging Cable
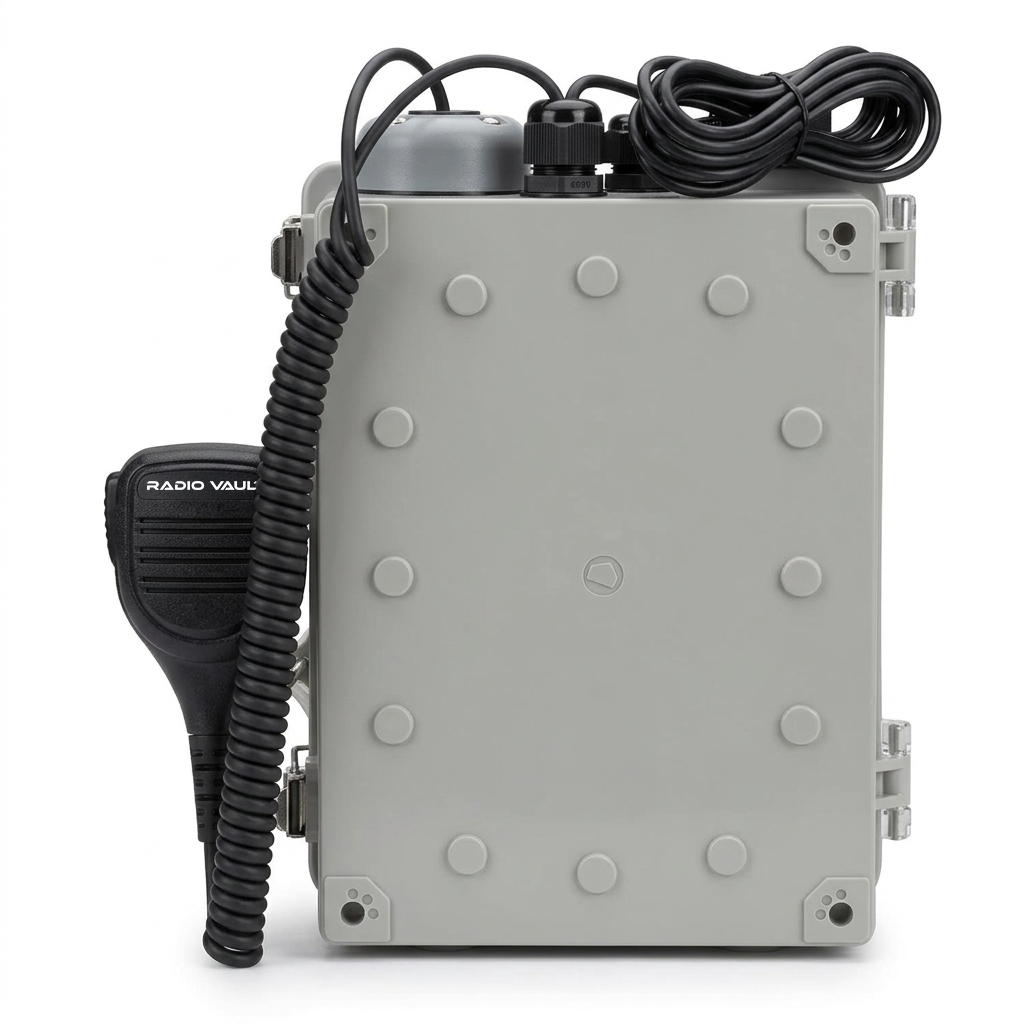
Before shipment, we install the external speaker microphone and the charging cable matched to your radio model, so the enclosure powers and operates that radio from the moment it arrives.
Mount & Deploy
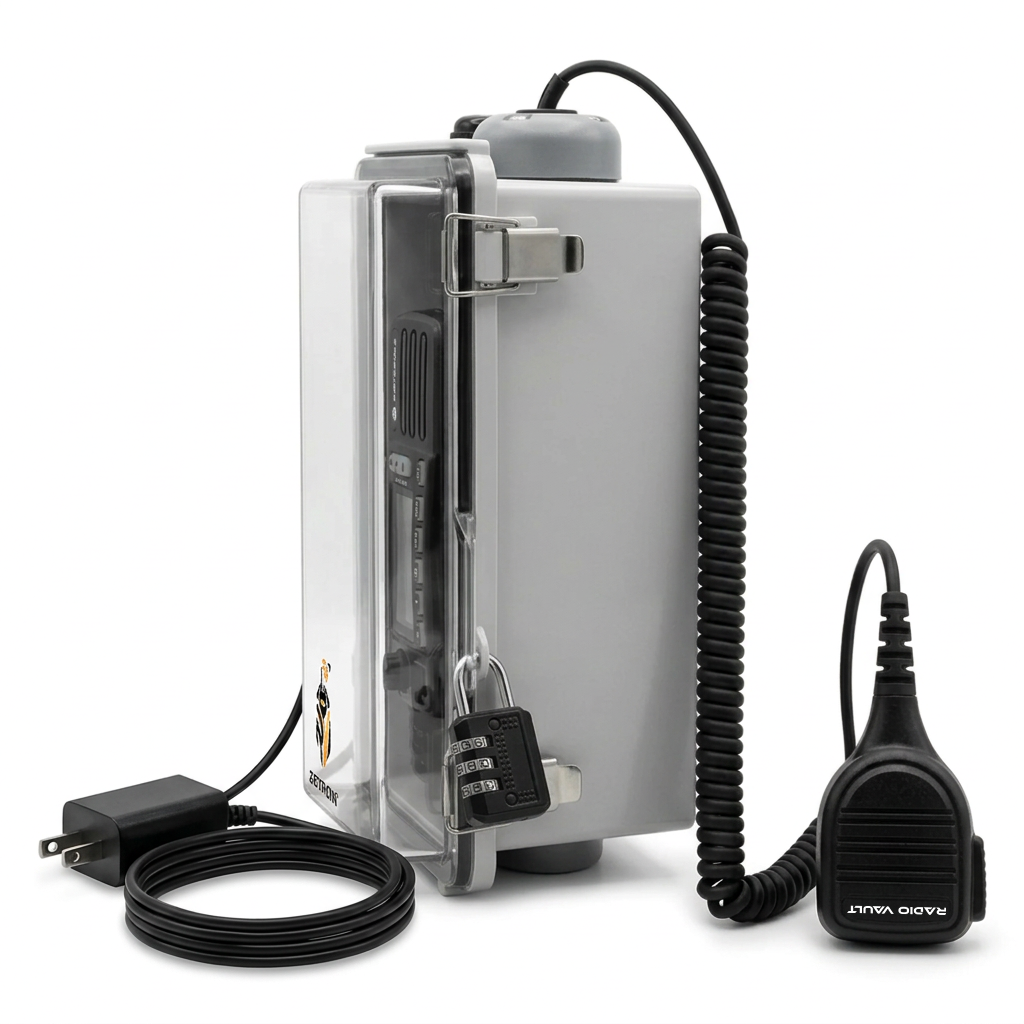
Mount the enclosure to a wall, post, or the Radio Area board using a solid surface and nearby power. Once mounted, the enclosure becomes a fixed, visible communication station.
Daily Use
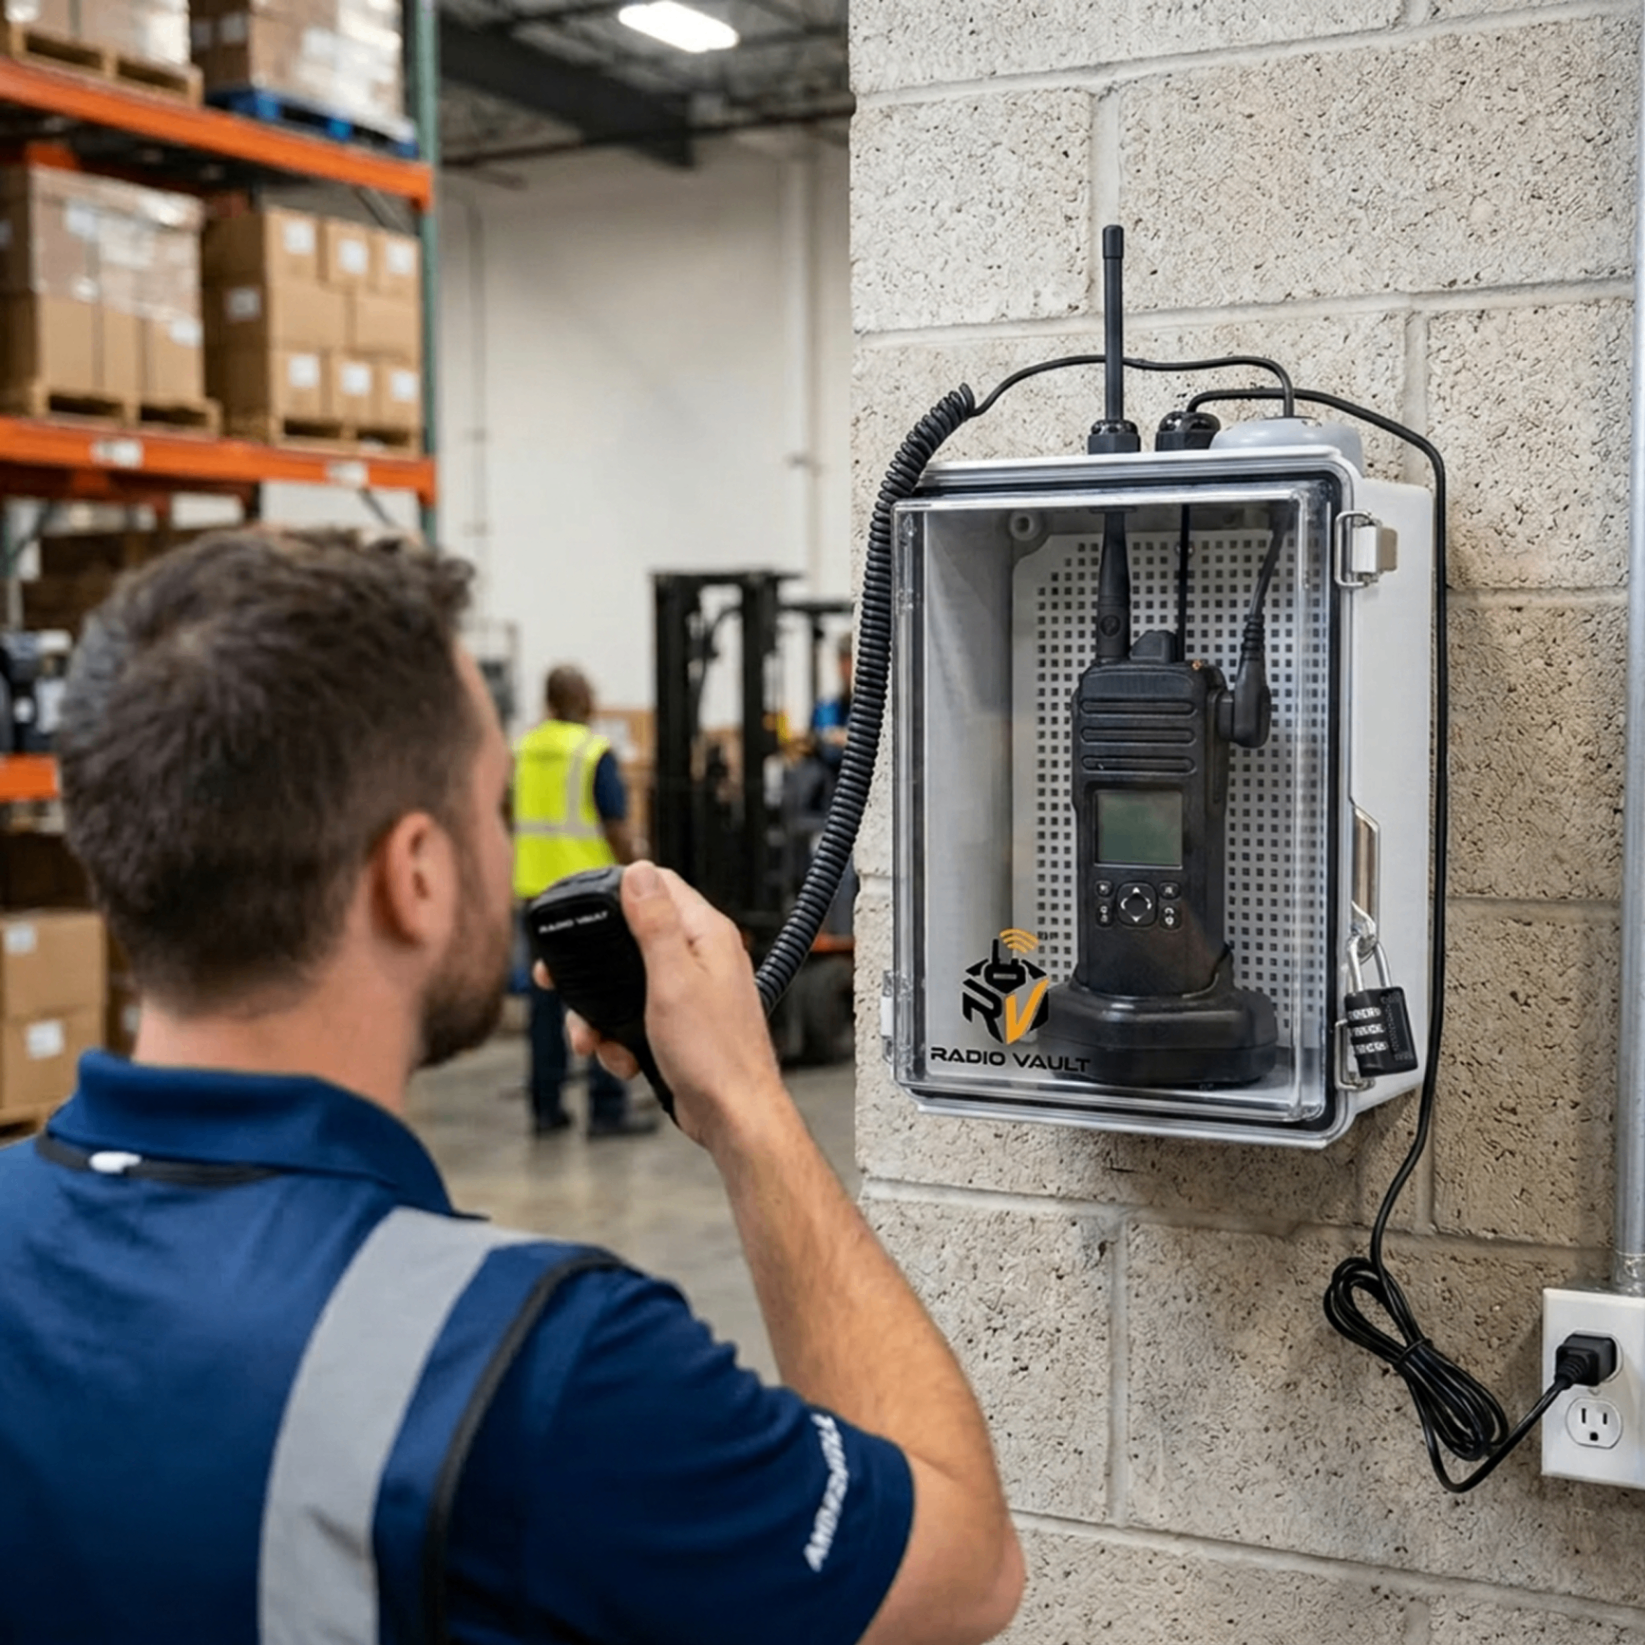
Crews talk through the external speaker microphone any time — the radio itself stays locked inside the enclosure and continues charging. No one removes it, checks it out, or carries it off.
The Radio Area Board Completes the Station
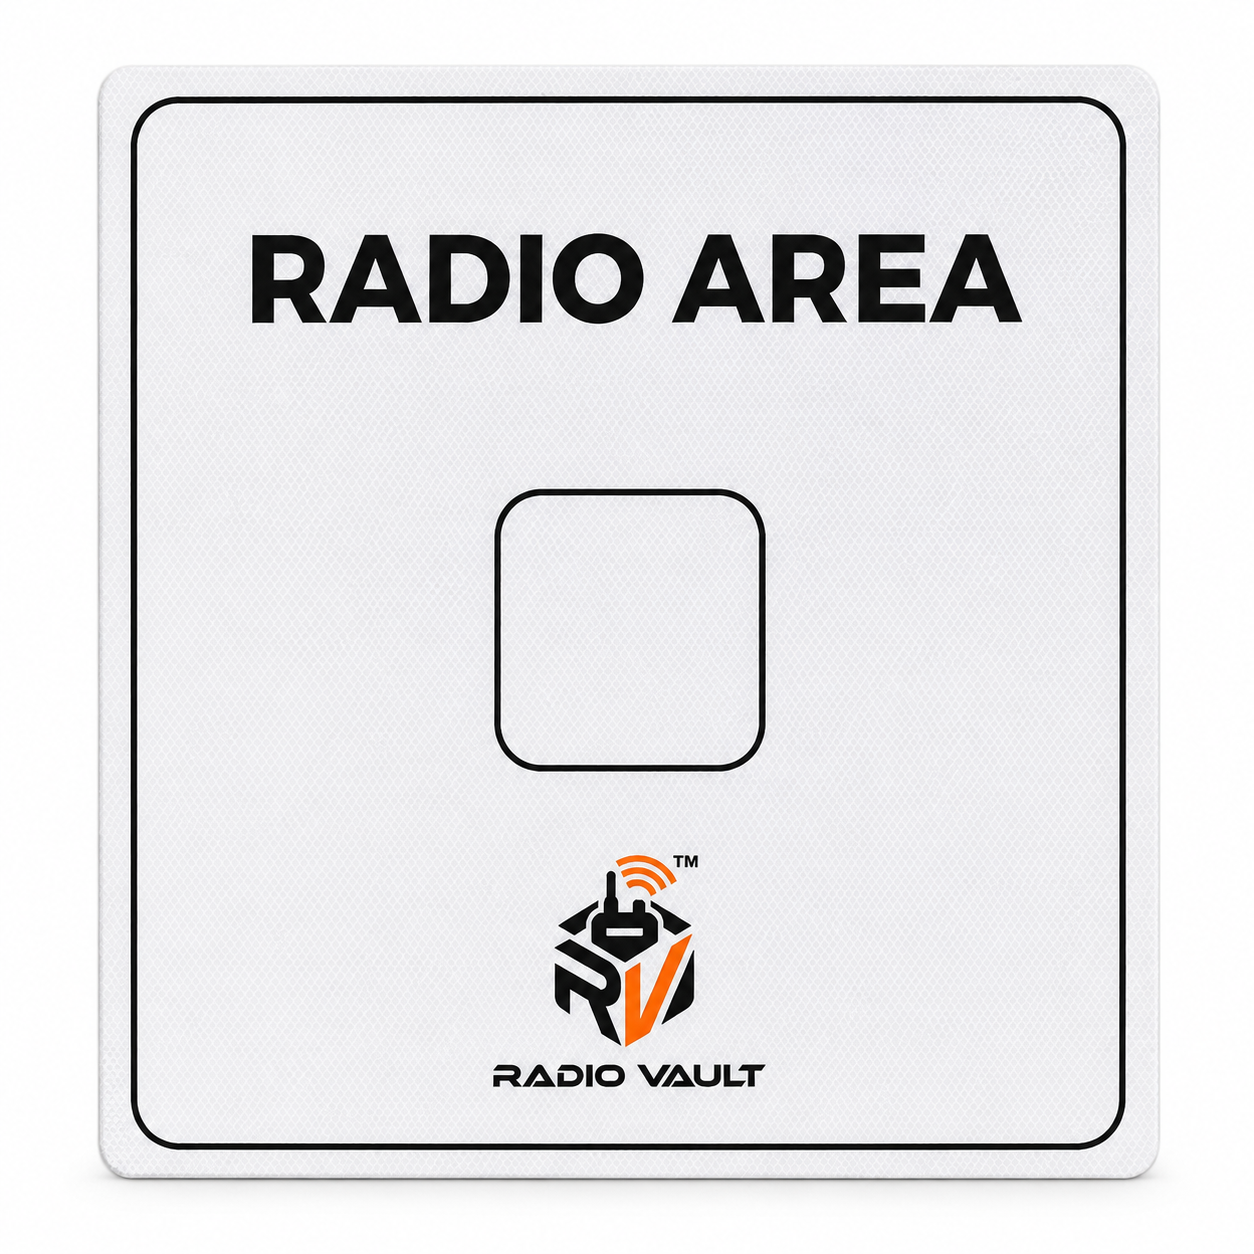
Add the Radio Area Mounting Board — a 24 in × 24 in reflective ACM panel — behind the enclosure to mark the station clearly, day or night, so every shift knows exactly where the radio lives.
Installation Considerations
- Mounting surface: a solid wall, post, or the Radio Area board able to support the enclosure and standard hardware.
- Power: a nearby outlet or run for the charging cable so the radio stays powered continuously.
- Placement: high-traffic, visible points crews already pass — entrances, time clocks, dock offices, or department thresholds.
- Quantity per station: generally one RadioVault per shared radio; larger sites with multiple shifts or departments typically need one per department or zone.
Ready to see the hardware?
Ready to secure your radios?
Buy a configured RadioVault on Amazon, or tell us about your facility and we will scope the deployment with you.
Not sure your radio is a match? Confirm your radio model before you order.